Most stand mixers do not die because they are bad machines. They die because someone dropped two pounds of stiff sourdough into a bowl built for cake batter and then walked away for fifteen minutes. Learning to use a stand mixer for bread dough is less about the recipe and more about knowing what the motor can actually take.
I am Sam, I have been baking for twenty years, and I spent a decade running a bakery in Vermont before I moved into teaching bread classes out of Burlington. I have kneaded dough by hand until my wrists gave out. I have also watched a cheap mixer start to smell like a hot hair dryer around the eighth minute of a brioche, which is the moment you learn that the wattage printed on a box and the torque delivered at the dough hook are two very different numbers.
The short version: buy a machine with a real motor, fit the dough hook, keep it on the lowest speed, and check the motor housing before you check your phone. The long version is below, along with the two mixers I point home bakers toward when they want real bread without a bakery budget.
Why you should trust me
I have spent two decades with my hands in dough. Ten of those years were behind a bakery counter, where the same three mixers ran six days a week and where a dead motor on a Saturday morning meant refunding a hundred preorders. That decade taught me more about motor torque than any spec sheet ever did.
I own three mixers today. There is a KitchenAid that survived a decade of weekly bread, an Ankarsrum that handles double batches, and a cheap one I bought specifically to see if it was worth hating. It was. That cheap machine is the reason I set a hard floor of 500 watts for anyone who plans to make bread, and the reason I do a smell test on every mixer I put through a stiff dough.
I do not care what the bowl looks like or how many speeds are printed on the dial. I care whether the machine can knead two pounds of dough to a windowpane without the housing getting too hot to hold, and whether it will still do that in year five. That is the whole test.
How I picked and how I tested
The two mixers below are the ones that clear the bar I set for home bread baking. That bar has four parts, and none of them are about bowl size.
First, real motor power. I look at the wattage and then I ignore half of it, because wattage tells you power draw and torque tells you whether the hook can actually turn through stiff dough. A 650 watt machine with a geared drive will out-knead a higher rated machine with a weak transmission every time.
Second, stiff dough behavior. The gauntlet is always the same: a lean sourdough at moderate hydration, then a brioche, then a fifth loaf to see whether the machine has anything left. If a mixer stalls or starts to whine on the brioche, it is a cake mixer with ambitions and I say so.
Third, the design. A lift bowl puts the bowl on arms that lock it into the frame, which makes it a fortress under load. A tilt head hinges back on a pin, which is convenient for scraping and slightly wobblier when the dough fights back. Neither is disqualifying, but you have to know which one you bought and treat it accordingly.
Fourth, the smell test. Ten minutes into a stiff dough, I put a hand on the motor housing. Warm is normal. Hot is a warning. The smell of hot electrical parts is a machine telling you it is working past its design.
I also weigh the attachment ecosystem, because a mixer with a pasta roller and a grinder is a kitchen system rather than a gadget, and because attachments are where the long term money goes.
The two mixers I would hand a home baker
Both of these machines will knead bread. The difference is how much dough, how often, and how much margin you want between the dough and the motor's limit.
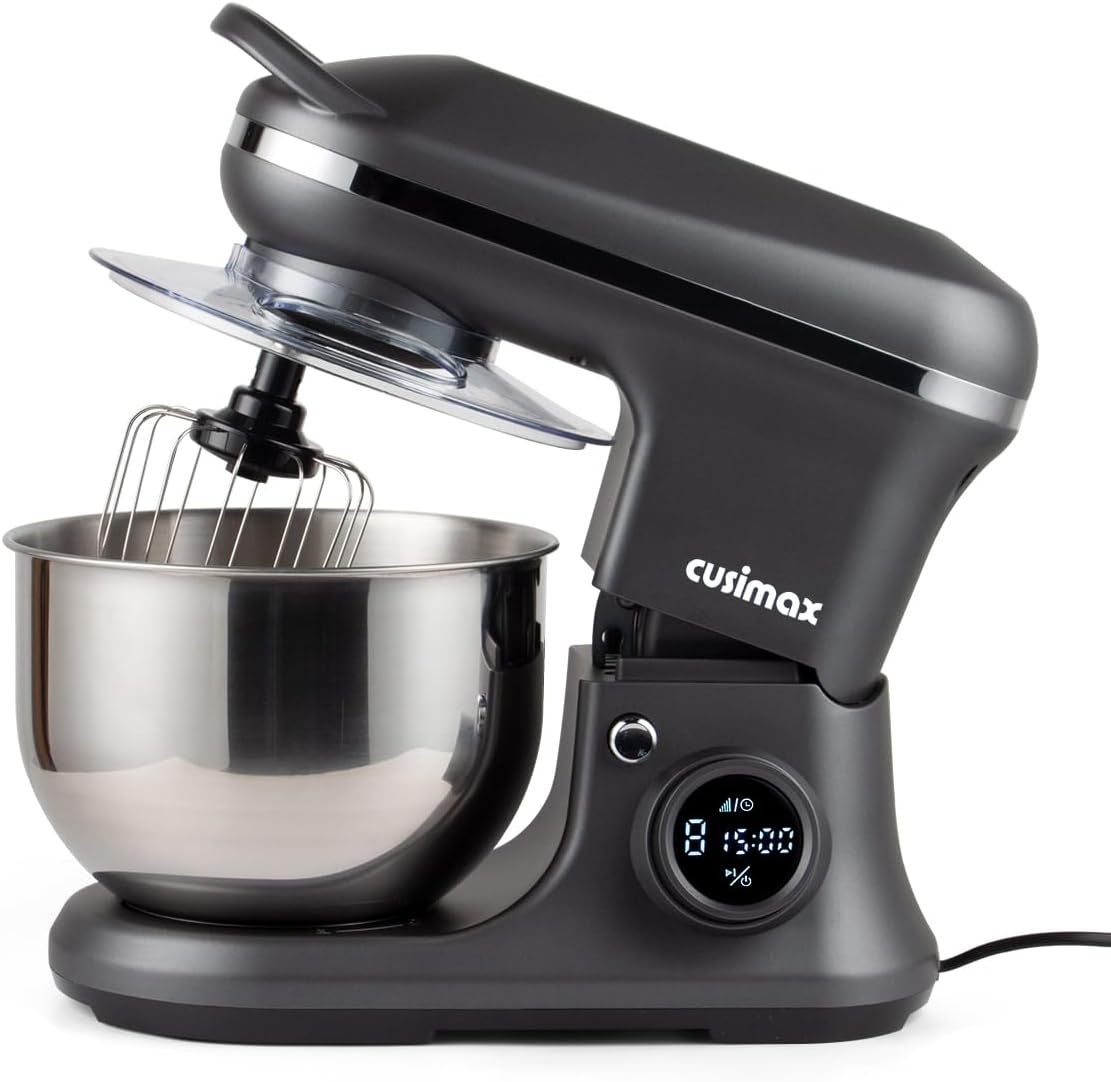
Budget pick: CUSIMAX Stand Mixer, Electric Food Mixer with Digital Switch Control, 650W
 Visit on Amazon →
The number that matters here is 650 watts, which clears the floor I set for bread by a comfortable margin. Plenty of mixers at the budget end of the market ship with 300 to 400 watts and a dough hook that exists mostly for photographs. This one has the power to actually knead, and the digital switch control is a genuine convenience, because it lets you step through speeds without wrestling a mechanical lever while your hands are covered in flour.
This is the machine I point at the baker who makes a loaf or two a week, plus the occasional batch of cookies, and who wants to spend the rest of the budget on flour and a good Dutch oven. It will handle a standard boule and a pizza dough night without drama.
Flaws but not dealbreakers: At this price you are getting a lighter frame, so expect a little bowl movement when the dough gets stiff. Stay on the low speeds, keep batches to a single loaf at a time, and it behaves. Push a double batch of stiff dough through it and you will hear about it.
Anyone baking a few loaves a week, or anyone who wants to learn dough development without spending four figures to find out whether they enjoy it, should start here.
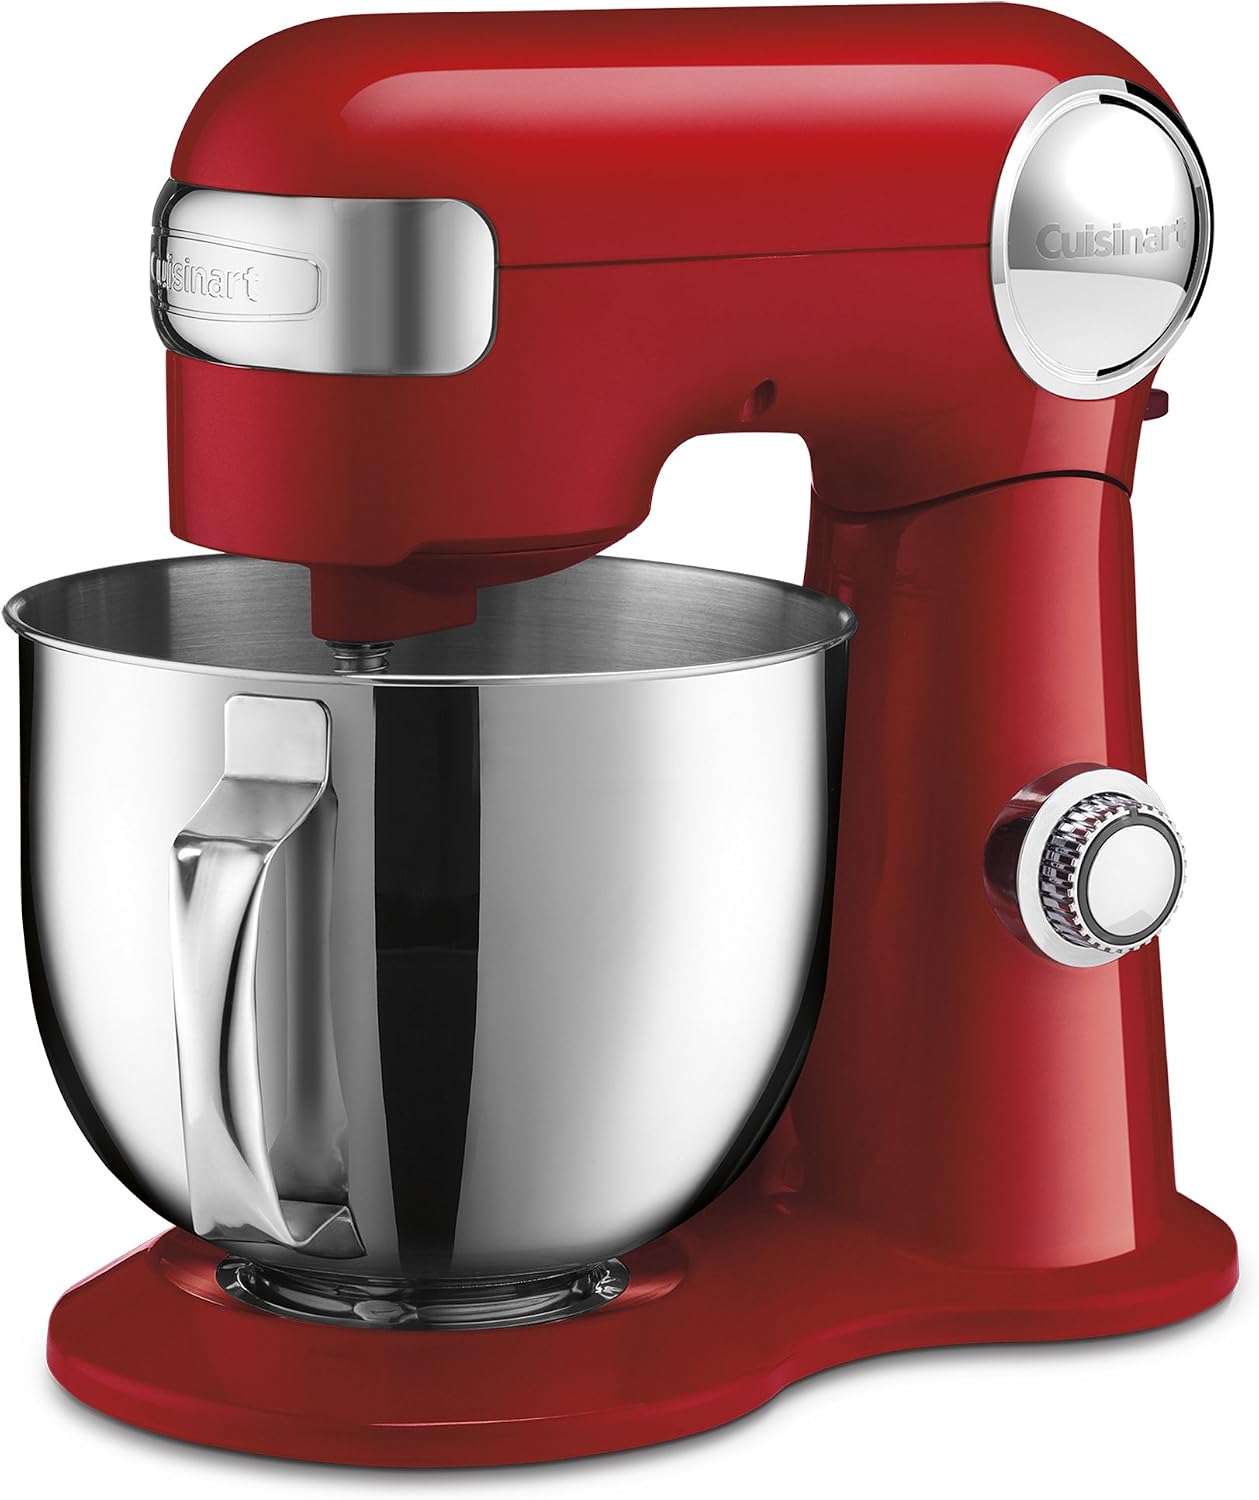
Our pick: Cuisinart Stand Mixer, 12 Speed, 5.5 Quart Stainless Steel Bowl, Chef’s Whisk, Mixing Paddle, Dough Hook, Splash Guard w/ Pour Spout, Ruby Red, SM-50R, Manual
 Visit on Amazon →
This is the one I would hand a student who bakes bread every week. The 5.5 quart stainless steel bowl gives you room for a two pound dough without crowding it against the sides, which matters more than people think, because a dough that cannot move cannot develop. Twelve speeds means you can find a genuinely slow first speed for incorporating flour instead of blasting it across the counter.
The package is complete in a way budget machines rarely are. You get the chef's whisk, the mixing paddle, the dough hook, and a splash guard with a pour spout, so you can add water to a dry dough without stopping the machine. The ruby red finish is a nice bonus if the mixer lives on your counter, which it will if you bake weekly.
Flaws but not dealbreakers: This is a tilt head design, and a tilt head will wobble a little under a stiff dough. Lock the head down, keep bread dough to the lower speeds, and stay at or under about two pounds per batch. Also, it is heavy enough that you will not want to move it between cabinets, so pick its counter spot before you unbox it.
Anyone whose bread habit has become a weekly ritual, and who wants one machine to cover cakes, cookies, and dough, should look here first.
The kneading workflow I teach
Now the part that actually keeps a motor alive. This works with any stand mixer that has a dough hook, and it works the same whether you spent a little or a lot.
Step one: size the batch to the machine. A 5.5 quart bowl does its best work with about two pounds of bread dough. Go past that and the dough climbs the hook, wraps the shaft, and forces the motor to work against a mass it cannot move. If you need more bread, bake two batches back to back, not one giant one.
Step two: fit the dough hook and lock everything down. The dough hook, not the paddle, not the whisk. If your mixer is a tilt head, press the head down until it clicks. If it is a lift bowl, raise the bowl until the arms lock. A bowl that shifts mid-knead turns a smooth dough into a fight.
Step three: start on the lowest speed and stay there. The first two minutes are for incorporating flour and letting the dough come together into a shaggy mass. Every time someone tells me their mixer threw flour across the kitchen, the answer is the same: they started on speed four. Low speed for dough, always. High speed is for cream and egg whites, and using it on bread dough heats both the dough and the motor.
Step four: let the dough climb the hook. A good dough hook does not bury itself in the dough. It catches the mass and lifts it, stretching it and slapping it back down against the bowl. That climb is the knead. If your dough is just spinning in a ball at the bottom with the hook whirling uselessly above it, the dough is too dry or the batch is too small for the bowl. Add water a tablespoon at a time until it sticks to the hook again.
Step five: give it the windowpane test. Pull off a golf ball sized piece and stretch it between your fingers. If it stretches thin enough to see light through without tearing, the gluten is developed and you are done. If it tears immediately, keep going. Most lean doughs get there in eight to twelve minutes of machine kneading.
Step six: do the motor check at ten minutes. Put your hand on the motor housing. Warm is fine. Hot enough that you pull your hand away is not. If it is hot, stop, move the dough to a bowl, cover it, and let both the dough and the machine rest for fifteen minutes before you finish by hand. That rest is not a failure, it is bench work, and it also gives the flour time to hydrate.
Step seven: rest the dough, then shape. Turn the dough out, cover it, and let it relax for twenty minutes before you shape it. Dough that has just been worked hard on a hook will fight a rolling pin and snap back on itself. The rest fixes that.
Step eight: cool down between batches. If you are baking two batches in one session, give the mixer ten minutes between them. The motor needs to shed heat, and the second batch always feels stiffer because the machine is already warm.
What neither mixer will do
A home stand mixer is not a spiral mixer, and no amount of marketing changes that. Very stiff, very low hydration doughs and huge batch sizes belong to commercial machines with a fixed bowl and a rotating spiral. If your goal is bagels at 50 percent hydration in five pound batches, you want a different class of equipment.
Neither of these machines mills grain, stuffs sausage, or rolls pasta out of the box. Attachments handle some of that on the Cuisinart side of the aisle, and they cost money, sometimes more than people expect. Buy them when you have a specific use, not because a bundle looked like a bargain.
And neither machine replaces your hands entirely. You still need to feel the dough, judge its hydration, and know when it is done. The mixer does the repetitive work so your wrists do not have to. That is the whole bargain.
What this actually costs
The CUSIMAX sits in the budget tier and the Cuisinart costs meaningfully more. Both prices move around, so check current Amazon price before you decide, and think in terms of cost per loaf rather than cost per machine.
Here is how I would frame the math without pretending I know what either one costs today:
- Budget pick: lowest upfront cost, best if you bake one or two loaves a week and want to spend the rest on flour and a scale.
- Our pick: more upfront, better if bread is a weekly habit and you want one machine to cover cakes and cookies too.
- Attachments: an extra cost on either machine, and the honest answer is you probably do not need them yet.
- Repair or replace: a machine that survives five years of weekly bread has paid for itself many times over in bakery loaves you did not buy.
A stand mixer is a one time purchase against a recurring grocery line. That is the entire argument, and it is a good one.
The machine is only half of it. The workflow above is what keeps a 650 watt motor alive through year five, and it is what keeps a bigger machine from being overkill. Knead on low, size your batches honestly, check the motor with your hand, and rest the dough when the machine asks you to. Do that and you will get bakery bread out of a home kitchen, which was the point all along.