Most people who buy a budget tilt head stand mixer make the same mistake in the first week. They load it with a stiff dough, crank the dial past the low speeds, and stand there watching the head flex while the motor starts to smell warm. Then they decide the machine was a waste of counter space and go back to kneading by hand.
That conclusion is usually wrong. A budget tilt head stand mixer will make real bread, real brioche, and real whipped cream for years, provided you work inside its limits and set it up before the first batch. What kills these machines is not bread. It is bread made the wrong way: dough that should have been split in two, speeds that should never have been touched, and a head that was never locked down properly.
I have been baking for twenty years, ran a bakery for ten of them, and now teach bread classes in Burlington, Vermont, where the winter kitchen is cold and the dough fights back. I own a KitchenAid that survived a decade of weekly bread, an Ankarsrum that handles double batches, and one cheap mixer I bought purely to see whether it was worth hating. It was. This guide is about the honest middle ground: how to get real work out of a tilt head machine without pretending it is a bakery mixer.
Why you should trust me
Twenty years of dough, ten of them commercial. I kneaded by hand until my wrists gave out, which is how I ended up on mixers in the first place. Since I started teaching, every machine I recommend goes through the same three tests: a two-loaf batch of stiff sourdough, a butter-heavy brioche, and a fifth consecutive loaf on the same afternoon to see what the motor does when it is already warm.
My rules do not bend. No review without a real bread bake. No claim that a mixer is powerful without a stiff dough test. No recommendation without checking what the motor smells like after ten minutes of kneading. If a mixer stalls on bread dough, it is a cake mixer with ambitions, and I say so.
How I judge a budget tilt head mixer
The spec sheet will not help you. Wattage tells you how much power the machine draws from the wall. Torque tells you whether it can actually turn a hook through stiff dough, and almost no budget listing mentions torque at all. Bowl size is the other marketing trap. A 5.3-quart bowl tells you the volume of the bowl, not the maximum dough the machine can move. Those are different numbers, and the second one is smaller.
Here is what I check, in order.
First, the head lock. A tilt head mixer pivots on a hinge at the back, and under load that hinge is the weakest point in the design. Lock the head, then push down on the front of it with one finger. If it moves more than a fraction, reseat it before you mix anything.
Second, the low speed. The first two speeds exist for folding in flour and starting a dough. Most people skip them, jump to the middle of the dial, and throw flour across the counter while the motor lugs. Start low, stay low until the dough comes together, then step up.
Third, the hook. A dough hook should climb the dough, not bury itself in the middle of it. If the hook spins in place while the dough sits still against the bowl wall, the batch is too big or the dough is too dry.
Fourth, the smell test. After ten minutes of kneading, put your face near the motor housing. Warm is normal. Hot and electrical is not. If it smells hot, you are past the machine's limit, and the fix is a smaller batch, not a new mixer.
The gear this guide is built around
Two pieces matter here: the machine itself, and the one attachment worth adding if you own a compatible mixer. Everything else in the workflow below works with whatever tilt head mixer is already on your counter.
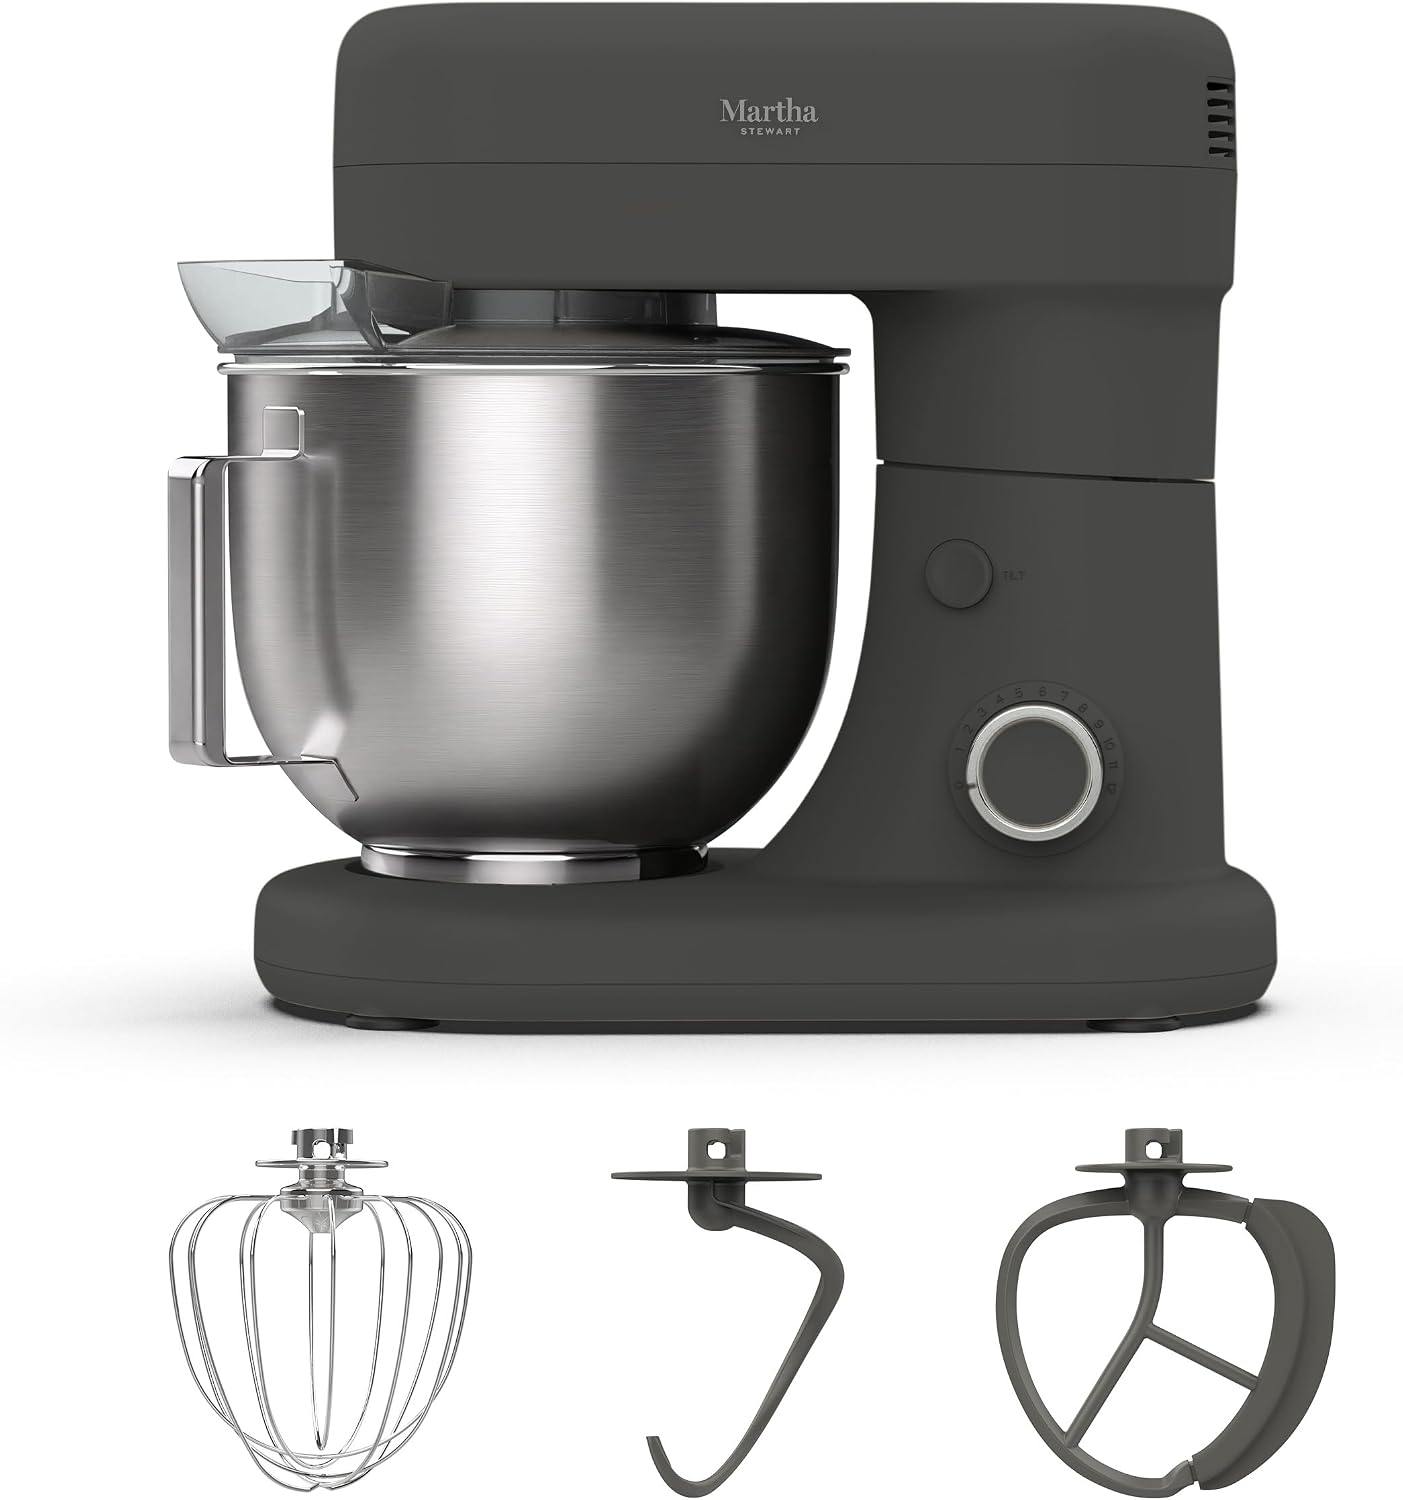
The mixer: Martha Stewart 5.3QT Tilt Head Stand Mixer, 12 Speeds, Stainless Steel Bowl
 Visit on Amazon →
This is the kind of machine this guide was written for. A 5.3-quart stainless bowl, twelve speeds, tilt head, and a price band that puts it within reach of a first apartment or a second kitchen.
Twelve speeds sounds like overkill until you use it. The bottom of the dial gives you the slow fold you want when flour first meets water, and the top gives you enough for whipped cream and egg whites without running the motor flat out for ten minutes. The bowl is stainless, which matters more than people think: it takes a scratch, holds cold, and does not hold onto the smell of last week's garlic.
Treat it like a 5.3-quart machine, not a bakery machine. One loaf at a time, two at most with a soft dough, and let the hook do the work at low speed.
Flaws but not dealbreakers: A tilt head is a wobbler by design under heavy load, and this one is no exception. Lock the head, keep the batch modest, and it behaves. Push it with a double batch of stiff dough and you will hear the hinge complain.
Anyone making one or two loaves a week, plus the occasional cake and a bowl of whipped cream, is exactly the right owner for this machine.
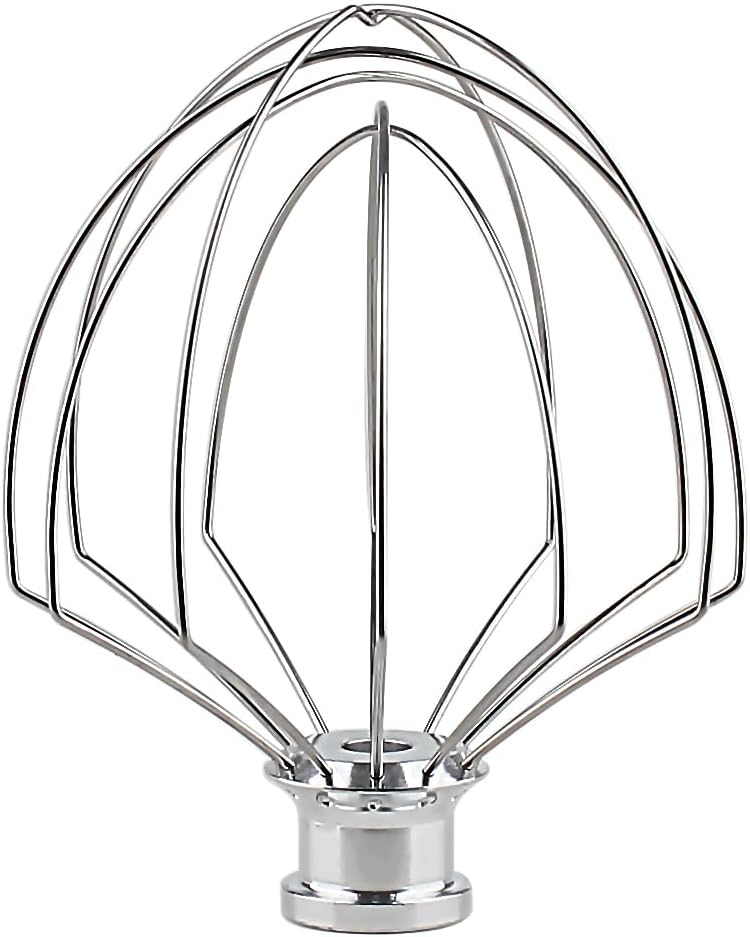
The spare whip: Anbige Replacement Parts 6-Wire Whip Attachment,Compatible with Cuisinart Tilt-Head Stand Mixer SM-50 and SMD-50 Series
 Visit on Amazon →
Read the compatibility line before you buy. This whip is made for the Cuisinart tilt-head mixers in the SM-50 and SMD-50 series. It is not a Martha Stewart part, and it will not fit every tilt head machine on the market. If you own one of those Cuisinart mixers and your original whip has bent tines, lost a wire, or walked off during a move, this is the cheap fix, and it is the one attachment purchase in this guide I would actually make.
A six-wire whip is the right tool for cream, egg whites, and thin cake batters. Six wires means more contact per revolution, so you get volume faster and with less splashing than a four-wire whip. Use it on the middle of the dial, not the top. Whipping cream at the highest speed on a budget mixer is how you end up with butter and a warm motor.
Flaws but not dealbreakers: It is a replacement part, not an upgrade. The finish is basic and the wire gauge is thinner than a factory original on a premium machine. If you whip cream twice a month, that is irrelevant. If you run a pastry kitchen, buy the original.
Cuisinart SM-50 and SMD-50 owners with a bent whip will get the most out of this.
The workflow: kneading bread in a tilt head mixer
Now the part you came for. This sequence works on any tilt head mixer with a dough hook, including the Martha Stewart machine above. Follow the order.
Step one: lock the head and check the bowl. Seat the bowl, twist it until it clicks, and push the head down until the lock engages. Then wiggle the front of the head. If it moves, reseat. A wobbling head turns a kneading job into a shaking contest and puts load on the hinge instead of the dough.
Step two: flour first, then liquid. Put the flour, salt, and yeast in the bowl and give them a ten-second spin on the lowest speed to combine. Add the water with the machine running on low. This order keeps the dough from forming a wet pocket at the bottom of the bowl that the hook never reaches.
Step three: mix on the lowest speed until it comes together. This is the stage people rush. Low speed, hook, two to three minutes, until you see a shaggy mass with no dry flour left at the bottom. Scrape the bowl once with a spatula halfway through. On a tilt head machine the hook does not reach the very bottom edge, so that scrape matters.
Step four: rest the dough, then knead. Turn the machine off and let the dough sit for ten to twenty minutes. The rest lets the flour hydrate, and hydrated dough needs far less kneading and far less motor. Then knead on speed two, no higher, for five to eight minutes. Watch the dough, not the clock. It is ready when it pulls away from the bowl wall and slaps the hook instead of sitting in a lump.
Step five: know when to stop. If the head starts rocking, if the bowl walks on the counter, or if the motor note changes from a hum to a strain, stop the machine and check the dough. Stiff dough that fights the hook is a signal to add a splash of water or split the batch in two.
Step six: the ten-minute smell test. Any time you knead past ten minutes, stop and smell the motor housing. Warm is fine. Sharp and hot is not. Let it cool for fifteen minutes before the next batch. That one habit is the difference between a machine that lasts five years and one that lasts one.
Step seven: whip with the wire whip, not the hook. When you move on to cream or egg whites, switch attachments and start on low, then step up to the middle of the dial. A six-wire whip on medium gets you soft peaks in a couple of minutes. Running it wide open splashes the walls and heats the bowl.
Step eight: clean the bowl, not the hinge. Wash the bowl, hook, and whip by hand or in the dishwasher if the manufacturer allows it. Wipe the hinge area with a damp cloth only. Water that runs into the head is what kills tilt head mixers quietly, over months, until the speeds stop holding.
Where a budget tilt head mixer gives up
Be honest about the ceiling. A budget tilt head machine will not handle a double batch of stiff sourdough the way a lift bowl machine does. It will not knead bagel dough for twenty minutes without getting warm, and it will not enjoy a five-loaf Saturday.
The tell is always the same: the head wobbles, the bowl walks, the motor note flattens, and the housing smells hot. When you hit two of those four, you are done for the day. Not because the machine is broken, but because you asked it to be a bigger machine than it is.
If bread is the main event in your kitchen and you bake several times a week, a lift bowl machine with a bigger motor is the honest answer, and I say that as someone who loves small mixers. If bread is a weekend thing and cakes, cookies, and cream fill the rest of the week, a tilt head machine is the right call.
Care, storage, and the parts that wear out
Two things wear out on a tilt head mixer: the whip and the hinge.
Whips take the most abuse because they hit the bowl and bend. A bent wire whip does not whip, it pushes. If your cream is taking forever and the tines look uneven, replace the whip. That is the entire case for keeping a spare like the Anbige part above if you own a Cuisinart tilt head machine.
The hinge is the other wear point. Never lift the machine by the head, never store it with the head locked down and something heavy leaning on it, and never force the head down with the bowl misaligned. Keep the hinge clean and dry and it will outlast the motor.
What this all costs
I am not going to quote prices, because they move. Check current Amazon price on the mixer and on the whip before you decide anything.
What I can tell you is how to think about the money. The machine is the one real purchase. The whip is a small replacement part, and it is only worth buying if you own a compatible mixer and your current whip is damaged. Everything else in this guide is technique, which costs nothing and matters more than the hardware.
Compare the mixer against a lift bowl machine with a bigger motor and the trade is clear: you pay less, and you accept a smaller maximum batch and a tilt head that wobbles when you push it. For one or two loaves a week, that is a fair trade. For a bakery schedule, it is not, and no technique will fix it.
The short version
Lock the head. Start on the lowest speed. Knead on speed two, never higher. Keep the batch to what the machine can actually move. Stop and smell the motor at ten minutes. Replace a bent whip instead of fighting it. Do those five things and a budget tilt head stand mixer will turn out real bread, real brioche, and real whipped cream for years, which is more than most people ever ask of the machine sitting on their counter.